pikesan
| Location: | Chandler, AZ, USA |
| Joined: | 06/10/2007 |
My Styles
Builder, Old-School, Hot Rodder, Street Rodder, Custom Rodder, Build-It, Drive-It, H.A.M.B.
views: 399429
My Crew 205

(1)_105_105.webp)
_105_105.webp)
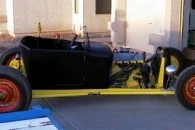
"Bonnie" 1927 Ford Roadster
Introduction / Overview:
Here's Bonnie. She's a 1927 Roadster that I bought in 2002. It's a cool story how I got it when the late Boyd Coddington passed on it.
In case you didn't know, I'm one of the co-founders at MyRideisMe.com. We started as cars and bikes, but now we're only cars. I hope you like it! Leave a comment, say, let me know what you like!
Drivetrain:
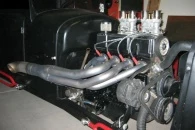
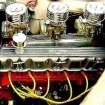
It's a PINTO motor! Embrace it! C3 automatic and an 8" with 4:11 gears
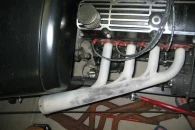
The engine has a custom made header and a custom made intake, both made by me with help from friends. There's 2 weber 44 carbs on top. The internals of the engine are stock, but the heads ported and has been modified for a solid lift cam.
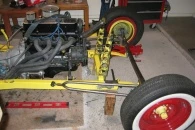
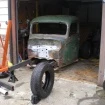
Chassis: 2x3 box frame made by the original owner. The front and rear suspensions I re-did later. Check out the pics. There are quarter elliptical springs front and back. I included a picture made from pro/E, the cad software I used to design the front end. Every seen that done before? The shock mount also mounts the spring and the headlight.
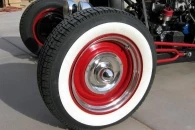
Wheels and Tires: Just changed the wheels to 16" steelies with Firestone bias ply rubber. So far, they ride better then I though they would, especially in the back. I still run some stainless trim rings with caps.
Body & Paint: yea. right. it's PPG primer black. She's also had a good taste of Bonneville salt. I left it on the tail light and license plate!
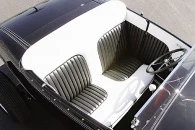
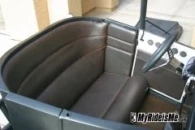
Interioir: Custom by owner... haha.
Lifestyles:
Builder, Old-School, Hot Rodder, Build-It, Drive-It, H.A.M.B.