falconizer_62
| Location: | Garden Grove, CA, USA |
| Joined: | 01/10/2008 |
My Styles
Race only, H.A.M.B., Build-It, Drive-It, Custom Rodder, Old-School, Restorer, Builder
views: 80487
My Crew 8
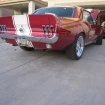


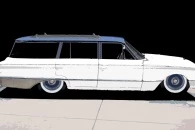
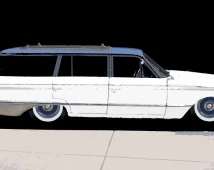
"Blue Bird" 1962 Ford Falcon
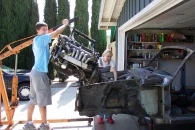
Introduction / Overview: Building it for my wife as a birthday present. didn't like any of the new cars i could get for 15K, so we're spending it on metal, tools and parts, one piece at a time. built to be reliable, comfortable, economical, repairable, camp-able and keepable. worked on weekly with teens from a local youth group.
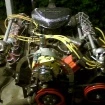
Drivetrain: aussie OHC crossflow I6 w/polished aluminum and fabbed 4 bbl intake. automatic overdrive trans.
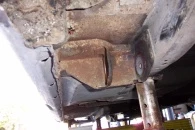
Chassis:
custom 3 link rear suspension, bags, custom narrowed front end, fabbed subframe and mounts. ranger diff.
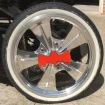
Wheels and Tires:
15" smoothies (powdercoated), coker classics. 195 75 15
rings and caps
Body & Paint: 57 t-bird bumpers, grill trim. grill centerpiece out of opel bumper and mustang lower bumper "teeth". shaved, early t-bird tail fins. 59 caddy tailights. fuel filler moved behind a pop open tail light.
Interioir: mild custom, but mostly origional. we're keeping the bench seats.
Lifestyles:
Builder, Restorer, Custom Rodder, Build-It, Drive-It, H.A.M.B.