Napalm
| Location: | Mesa, |
| Joined: | 06/10/2007 |
My Styles
Old School, Café-Racer, Track Only, Build-It, Ride-It
views: 71836
My Crew 15


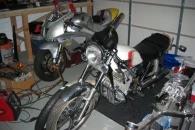
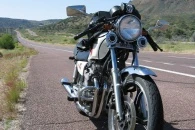
"1981_XJ550R" 1981
Introduction / Overview:
I picked this up from a hot rodder who had it under a tarp in his backyard for 23 years. It's in great shape and only has 4000 miles. Time to get started!
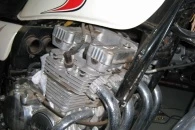
Drivetrain:
Chassis:
Wheels and Tires:
Front: Avon Universal
Rear: Avon Unviersal 110/90-18
Front Brakes: Single Disk
Rear Brake: Drum
Body & Paint: Stock pearl white. Soon to be something else
Interioir:
Lifestyles:
Biker, Custom, Old School, Café-Racer, Build-It, Ride-It, Restoration