Talk to an Expert: Tips on How-to Metal Flake
Chaotic Customs shows us how Metal Flake’s done!
The internet can be a great source of info, and if you’re lucky, you’ll find some good friends generous enough to help make a giant metal flake FAIL a big win. I got this email:
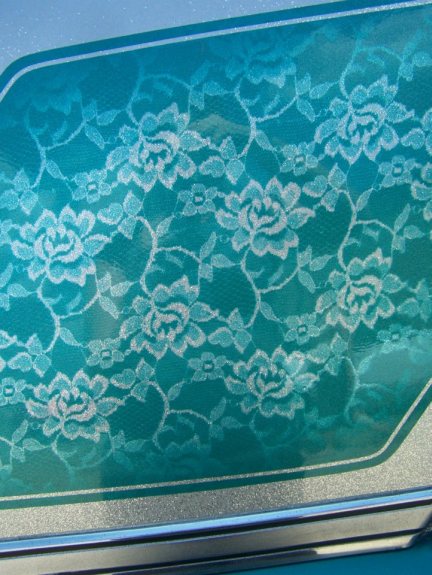
Hi, my name is Chris Carlson and I own Chaotic Customs. I saw your metal flake fail on Royboy Productions FB page and thought I’d give you my two cents. Painters have a few tricks up their sleeves to make it look easy. I’ve attached pictures of the 1965 Thunderbird we’re building for the girls here at Chaotic. The roof is flaked, panel painted and laced. Hope this helps you out!
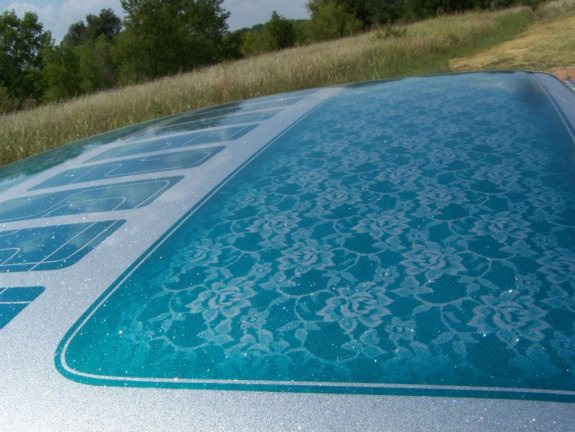
A sneak peak at the roof of Chaotic Custom's 1965 Ford Thunderbird roof
Shooting metal flake and getting the flake to sparkle and dance does take practice. However, I’m willing to let you in on a few tried and true custom painting tricks!
First off, spray a base color that has coarse metallic in the paint.
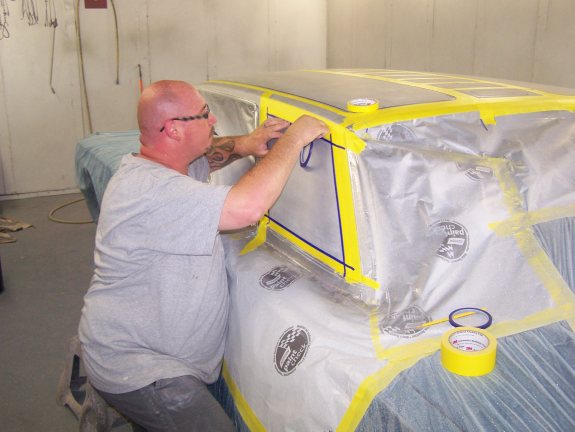
Now that the heavy flake base coat is done, Chris is masking the rear panels for a trick lace and flake custom paint job.
For the flake, you need two guns, this makes it so much easier for the layering process! Unless you are using Monster Flake, you can use a standard 1.3 or 1.4 tip. If you are using a cheap siphon gun, meaning the cup is on the bottom, add the clear and desired amount of flake to the cup. Now pay attention, this part is important! Add six brand new ¼ or 5/16 nuts. Yep, shiny new nuts from the hardware store! As you spray, continually shake your wrist back and forth so the nuts will agitate and keep the flake floating in the cup. Nothing is worse than all the flake at the bottom of the cup! Your wrist motion is like you are turning a screwdriver. Do this the entire time you are spraying and make sure and keep the tip to the top.
You have your gun set up with the clear, flake and nuts. Your second gun will be used for clear with no flake in it. Here’s the key to get your flake to stand up and not lay flat on the panel… Spray one coat of clear to create a light tack coat. Then, spray a couple of coats of flake. Let that tack. Spray another light to medium coat of regular clear. Repeat spraying flake and keep that wrist moving! Repeat this layering process until you get the desired flake coverage. When you are happy with the amount of flake, add three good coats of clear.
Let that sit overnight and the next day, sand with 400 to make it flat and smooth. Now the flake is ready to panel paint, lace, flame, add kandy or stripe.
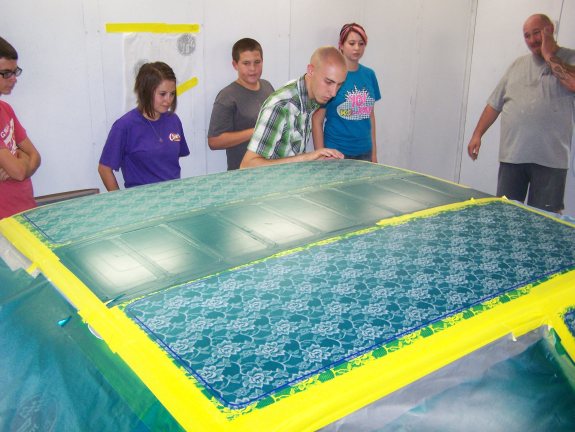
The crew inspecting the progress so far. Get'n there!
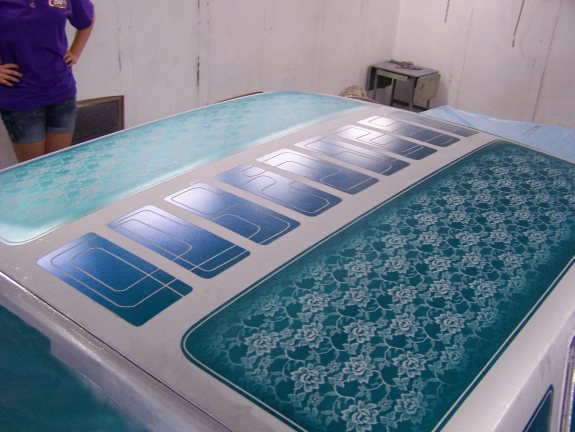
With all the masking removed, it's starting too take on the super custom look desired. Let it dry over night, then give it a light sanding then more clear!
See some amazing examples in this story: Custom Metal Flake Paint
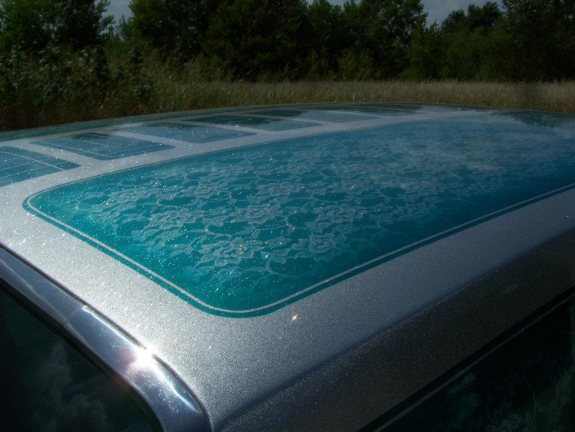
Nothing says "Custom" like a flaked roof. Looks great!
You will be covered in metal flake as will your spraying area and floor! There really isn’t a way around that. This may be the most important part of the entire job – make sure your wife knows you are spraying flake! Nothing is worse than trying to explain to your wife why you are coming home covered in glitter!
Thanks Chris! One question though… why would your wife care if you were covered in glitter? haahaaa!!! There’s more pictures of the 1965 Thunderbird – all done, here.
Chris mentioned the “Girls of Chaotic Customs” so I asked for a shot. Representing the custom 65 T-bird quite well yea? Thanks!
