How-to: Keyless Ignition Kit for your Custom Car
No Keys Needed – Modern Ride Convenience for your Hot Rod
Story and Install by Rob Zoller AKA: Mr. Freeze
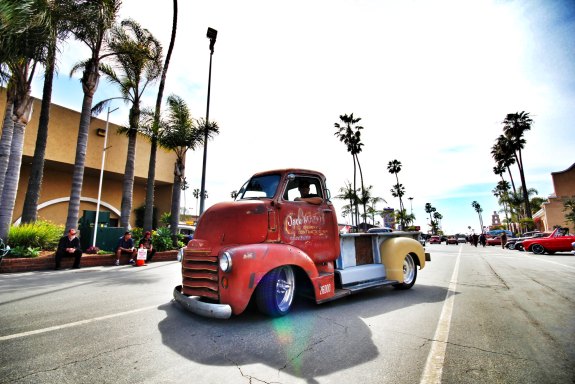
Ok it’s got power steering , power brakes , ice cold AC, power windows, deck-less sound system, a GPS speedometer and an electronic shifter so I figured when Pikesan asked me to put another electronic gadget into my seemingly “Rat Truck” (on the outside) I figured, why not! I’ve been test driving new cars lately and it seems like all of them have keyless ignition. To seal the deal, I rented a car for a week that had keyless ignition. It’s funny, but when I got home and drove my own car, I started thinking… what a pain to pull your keys out of your pocket!
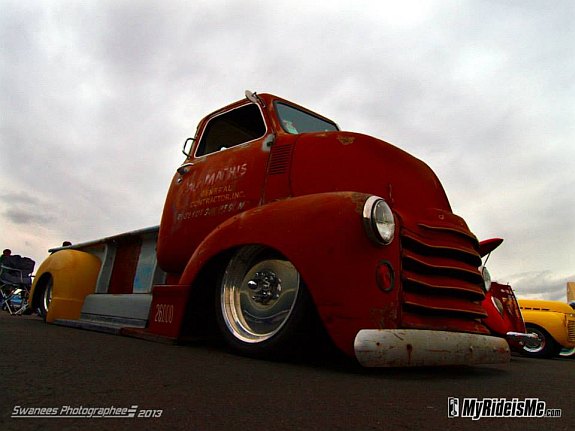
So problem solved on my COE. Think this bad boy deserves a keyless igntion kit?
Upon my new Flaming River keyless ignition arriving I noticed that this was gonna take some time to install and once again there were a lot of new wires and another control box to contend with, but once I got into it I was pleasantly surprised at how straight forward it was! Looking at the opened and laid out kit, here’s what I saw:
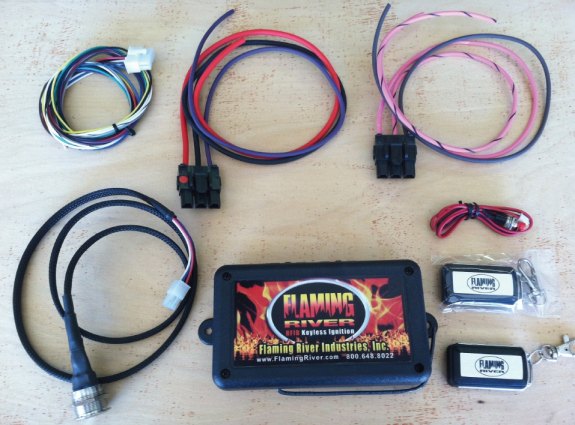
The kit includes:
- Ignition Control Module (ICM)
- Two Power Harnesses
- Accessory Harness
- Programming Button
- Emergency Bypass PIN Card – to start the car even if you don’t have the key
- Blue Start Button (Blue LED is standard – but you can get it in Red, White and Green)
- Motion Activated RFID Device
More about all of these in a minute… Let’s get started!
Step 1: Read the instructions:
Open , print and read the above booklet. http://www.digitalguarddawg.com/PDFS/PBS_II_OM_PDF_11.12.pdf Don’t skip Step 1! Seriously! I’m not one to sit down and read the instructions first, typically, but this time it was a serious time savor.
Step 2: Safety First:
Disconnect your battery.
Step 3: Mounting the control box
Find a suitable spot inside the vehicle to mount your control box making sure the wires have the length to reach your ignition wires and the push button mount. Locate and install ALL plugs onto the control box, you will need them all! Now’s a good time to start figuring out how you’ll route the wires to keep them tidy.
Step 4: Out with the Old (Key be gone!)
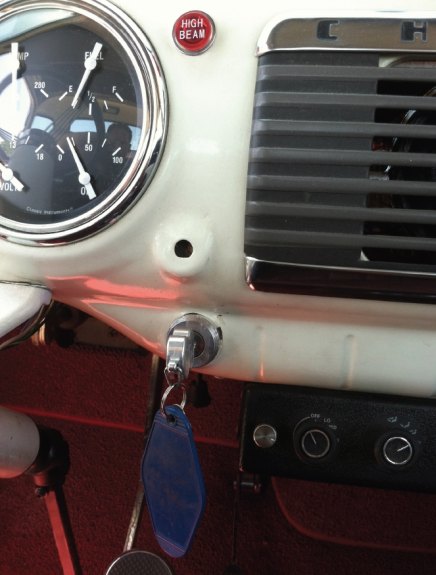
Remove your existing ignition leaving the wiring intact so you can identify the purpose of each existing wire. If this is a stock vehicle a wiring diagram would be extremely helpful. As in my case an aftermarket wiring harness is installed and each wire is individually labeled on the wire. Here’s what the keyed setup looks like:
Step 5: Get to Wiring!
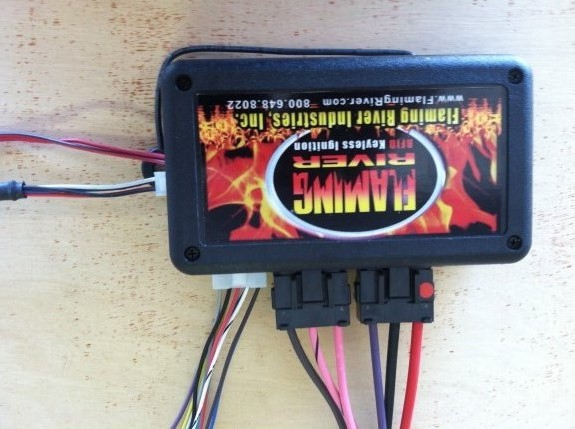
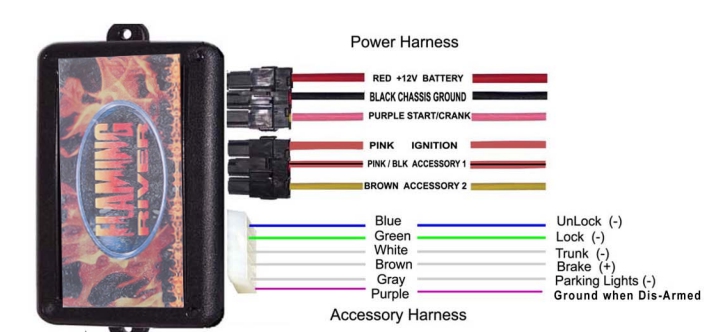
Starting on the far bottom Right is the Red wire, this is the main power wire, if it is pink you have placed the wrong harness here. Start here and work from Right to Left connecting wires in the keyless harness to your existing start system harness. Follow the instructions on page 9 of the booklet you printed. I retained my existing ignition plug and installed blade connectors to connect the unit. I had to expand the accessory wire to a gang connector to accept additional accessories that run of ignition power.
Next is the accessory harness. You will need this harness even if you are not using any accessories. If not hooked up, the system will turn on but not engage the starter! Separate the Brown wire. The brown wire must be hooked up to a power source, preferably to a neutral safety switch or a brake light switch.
Step 6: Mount the push button
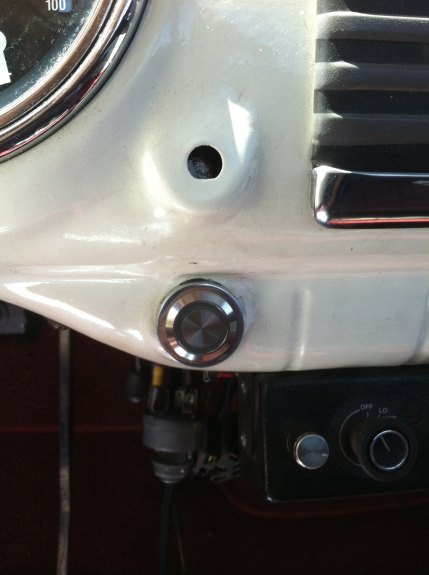
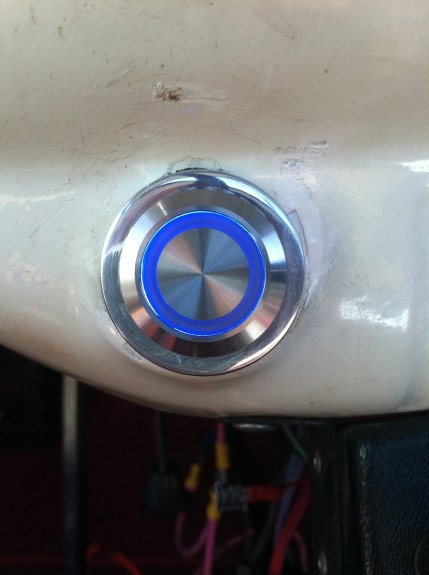
Install the push button in the existing ignition hole or to a desired spot and connect to the control box. Also mount the program switch to a desired location, I mounted mine behind the dash where I can access it but not easily seen by others.
Note: some modifications may need to be made to the existing ignition mount to accept the new switch. Or in my case, I had a custom bezel machined to fit my dash perfectly. The end result was worth it as you can see.
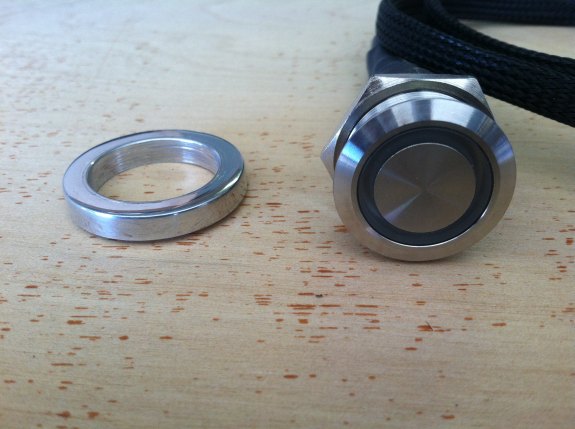
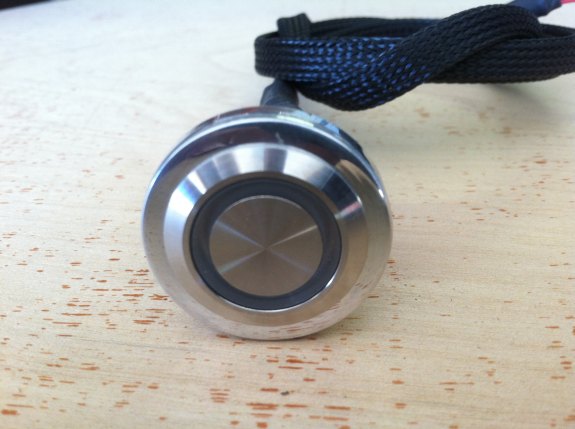
The push button starter installed:
Step 7: A little housekeeping
Secure all loose wires and tape or heat shrink all loose unused wire ends. Zip or wire tie hanging wires to the harness.
Step 8: Power back up
Reconnect your battery and test the system described in the booklet on page 1
Step 9: Start it!
Have a soda, You’re Done!
On a scale from 1 to 10, 10 being hardest I would rate this as a 4 to 5 install for someone with basic wiring and automotive experience. It went very smoothly taking only about 1.5 hours to complete the installation, most of which was locating the proper wires in my harness and cleanly routing and securing the new harness . The only snag was the Brown wire hook up, It was not emphasized or described very well in the booklet as a necessity, but was mentioned. Let me repeat, you must connect the brown wire! Other than that the install was a snap!
That’s it! Any questions? Ask away and we’ll make sure Flaming River gets them and responds.


Hi,
I’m done with the restoration of my 69 mustang and I want a keyless system too. Whats the difference between flaming river and 2 go keyless PBS – II
thanks
regards
Tamino