blueovalz
| Location: | Little Rock, AR, USA |
| Joined: | 07/29/2007 |
My Styles
views: 121970
My Crew 2


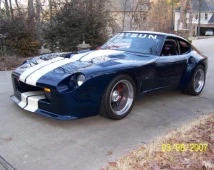
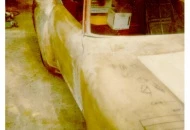
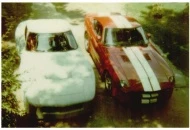
Exterior
(4875 Views)September 13, 2007
Comments:
Only registered members can leave comments

semel1
January 21, 2011 11:00
very cool garage. The work you have done is amazing

Truxx1956
August 12, 2010 07:55
WOW!!!!!!!!!!!!!!!!!!! You da man!!!!!!

Wicked58
January 11, 2010 02:56
wow, just amazing! Congratulations!

ROLLINGCOUNTRY
August 31, 2008 11:33
AWESOME JUST FLAT OUT AWESOME..LOTS AND LOTS OF HOURS BUT TRUE ART MY FRIEND......COOKIE

Grampa131
July 31, 2008 23:47
Beutiful Z........

falconizer_62
July 11, 2008 00:43
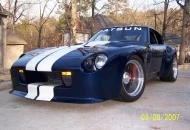
amazing work! That blue Z is phenomenal.
you are a true craftsman.
you are a true craftsman.

bandit
February 17, 2008 23:20
VERY COOL!!!
I enjoyed viewing your build progress, and the car looks very sharp!
I enjoyed viewing your build progress, and the car looks very sharp!

pikesan
December 27, 2007 02:10
The work you've done is AMAZING!! Thanks for making one of the best garages at MyRideisMe!