1956 Chevy Belair Painless Wiring Install How-To
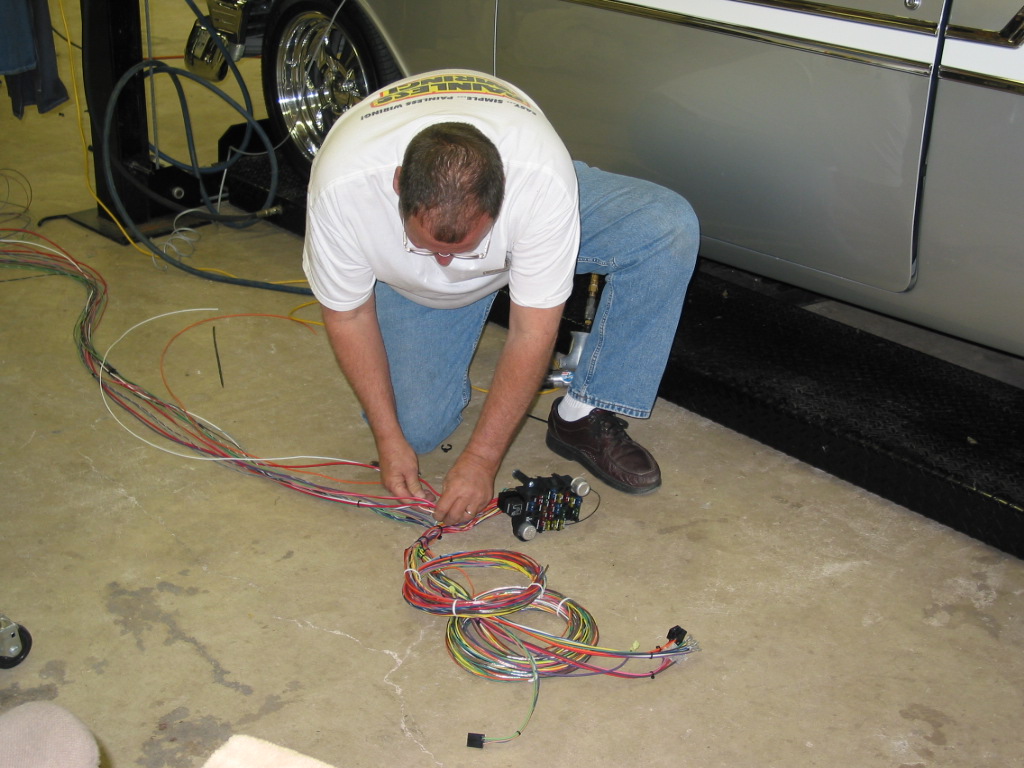
Before installing a harness, Jim likes to lay it out along side of the car to make sure the wires are routed to the proper location. A good example would be the wires for the brake switch. Some switches are inside the passenger compartment and some are in the engine compartment.
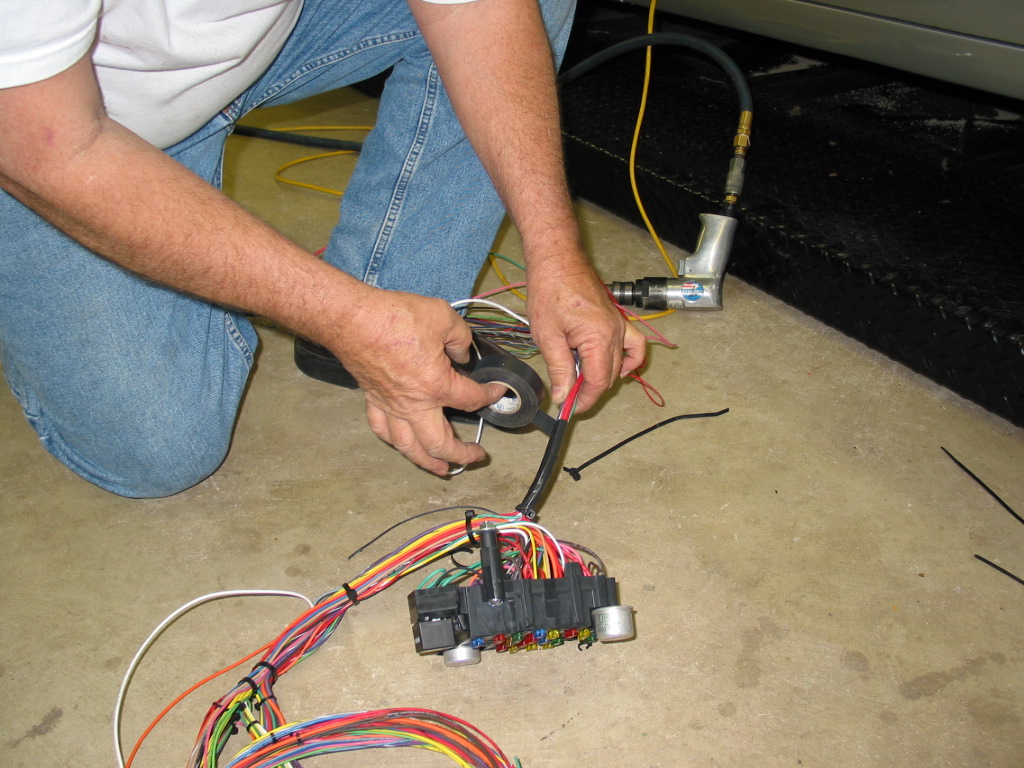
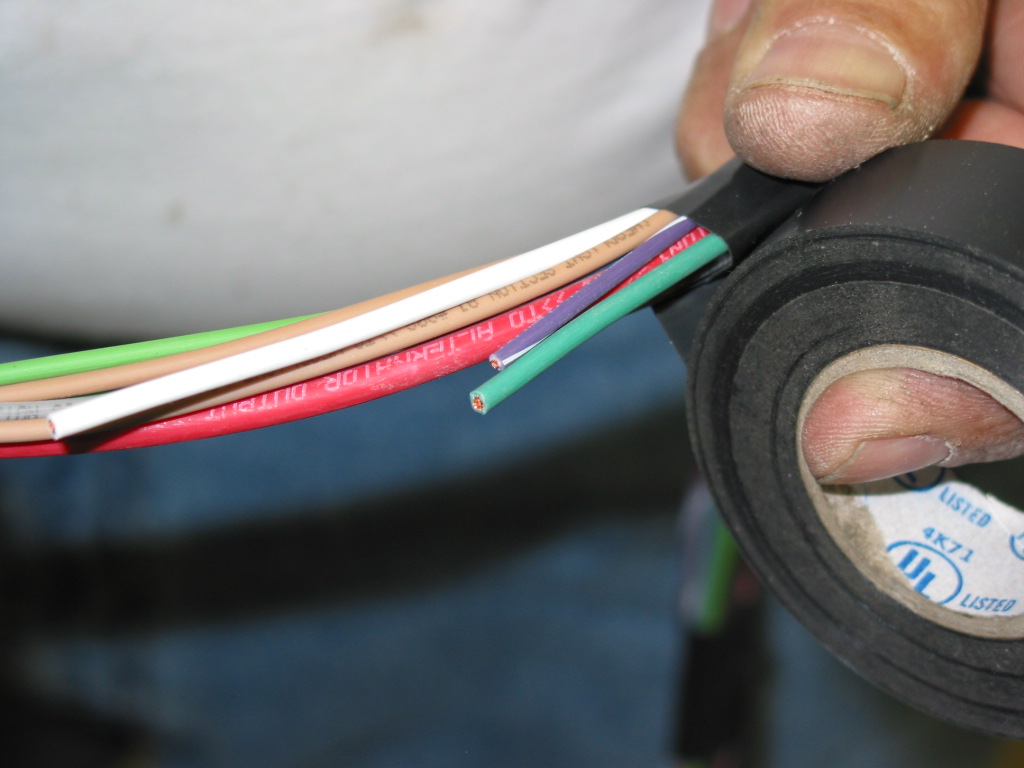
With all the wires routed properly, he now tapes a short section of the wires going through the firewall for extra protection.
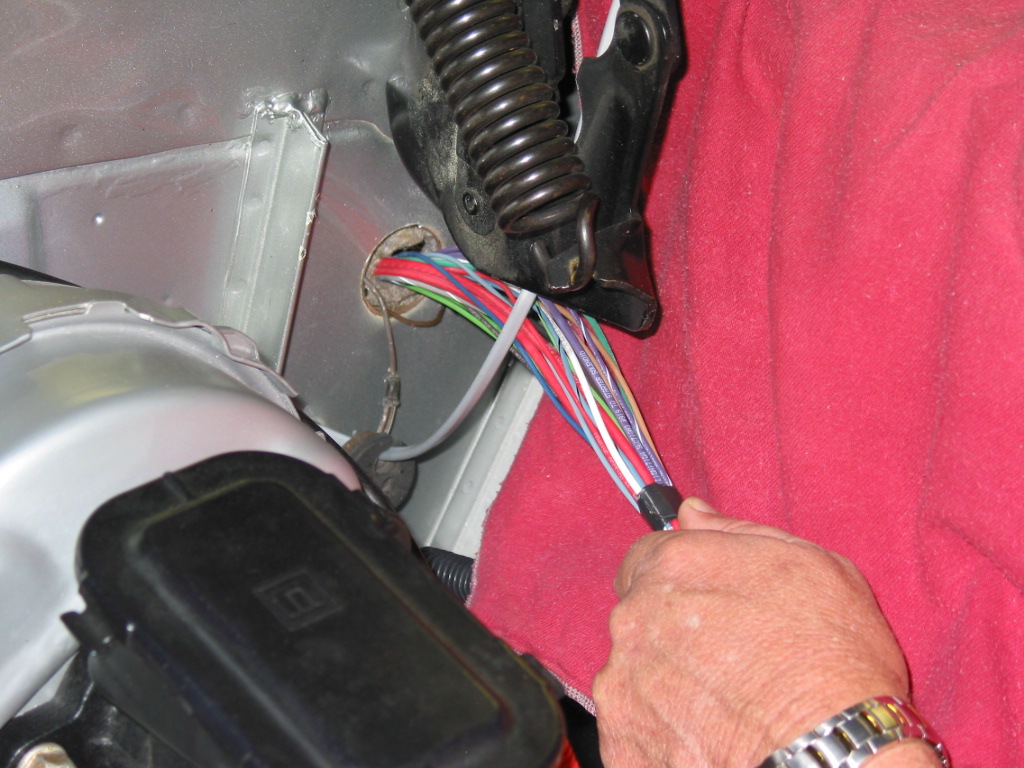
The end of the engine harness is also taped to make it easier to pull the different length wires through the grommet.
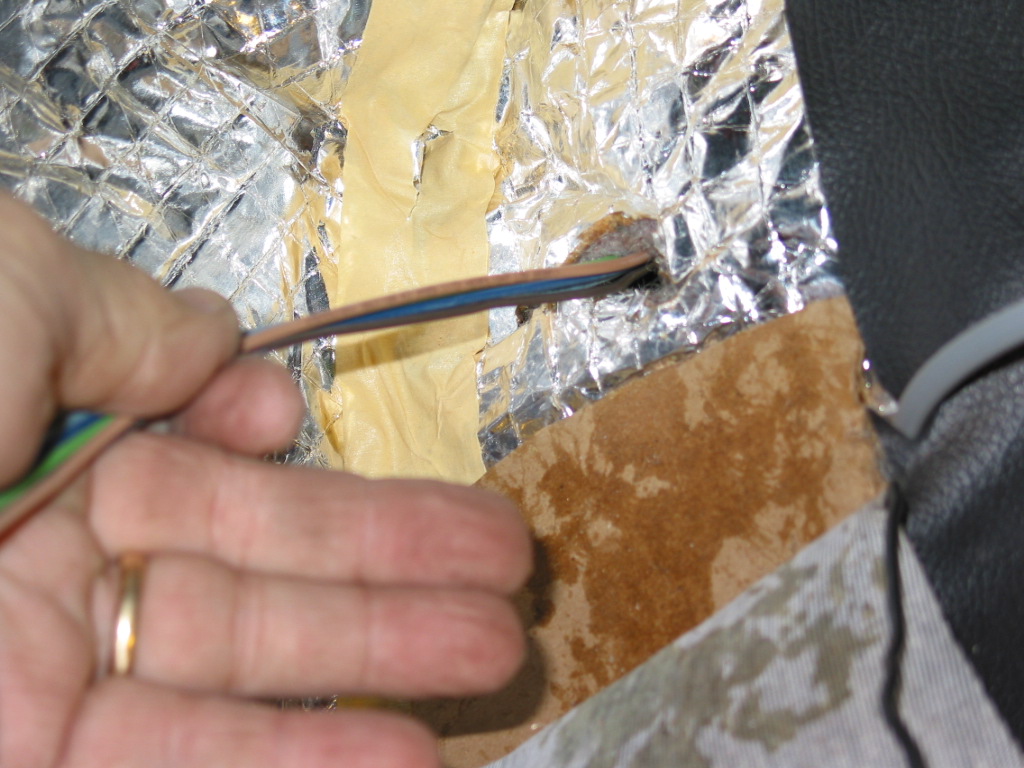
Here Jim is feeding the wires through the firewall from the inside.
On the outside, John pulls the wires as Jim feeds them through.
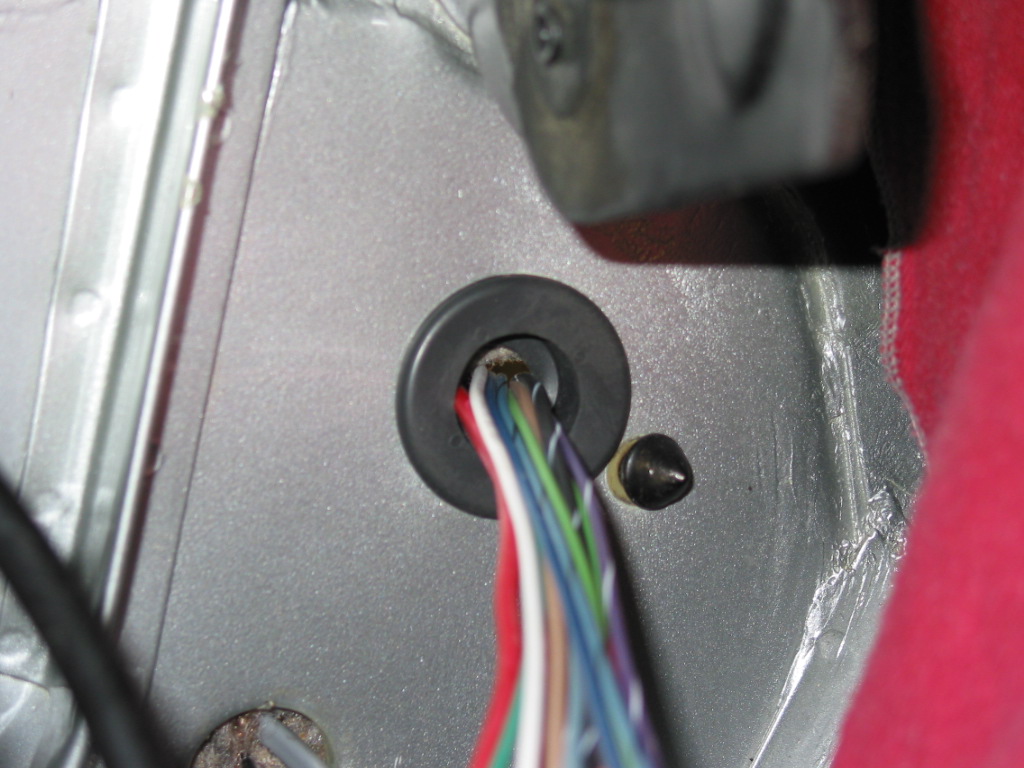
With the wires nearly pulled all the way through, the grommet is installed in the hole to protect the wires.
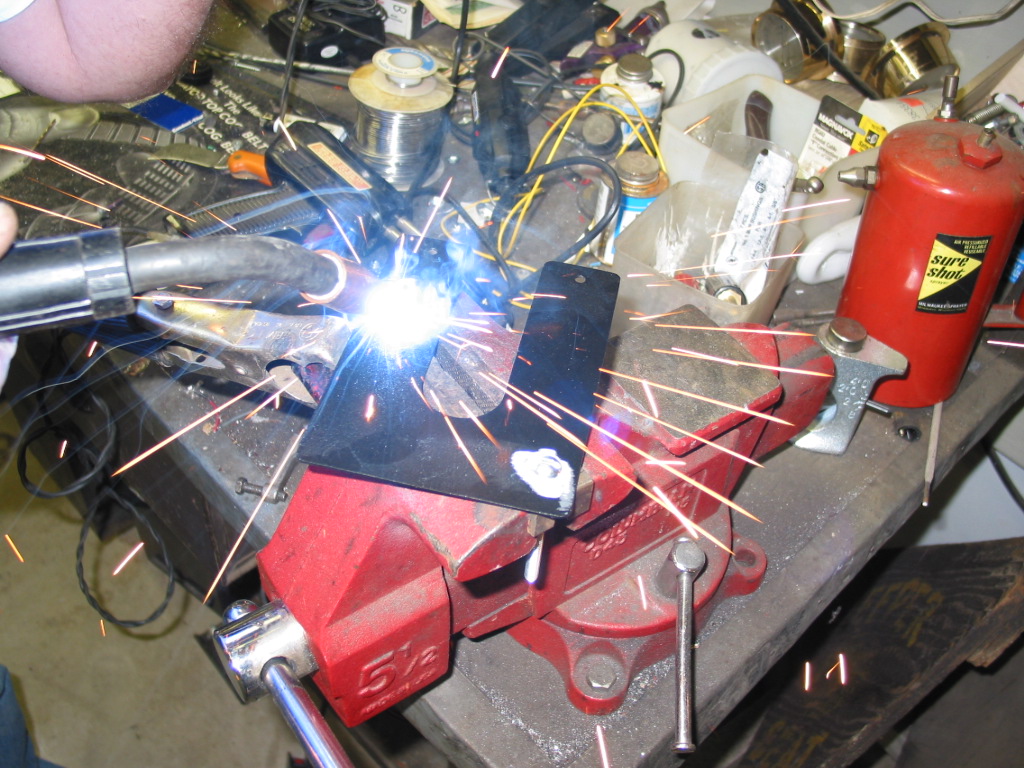
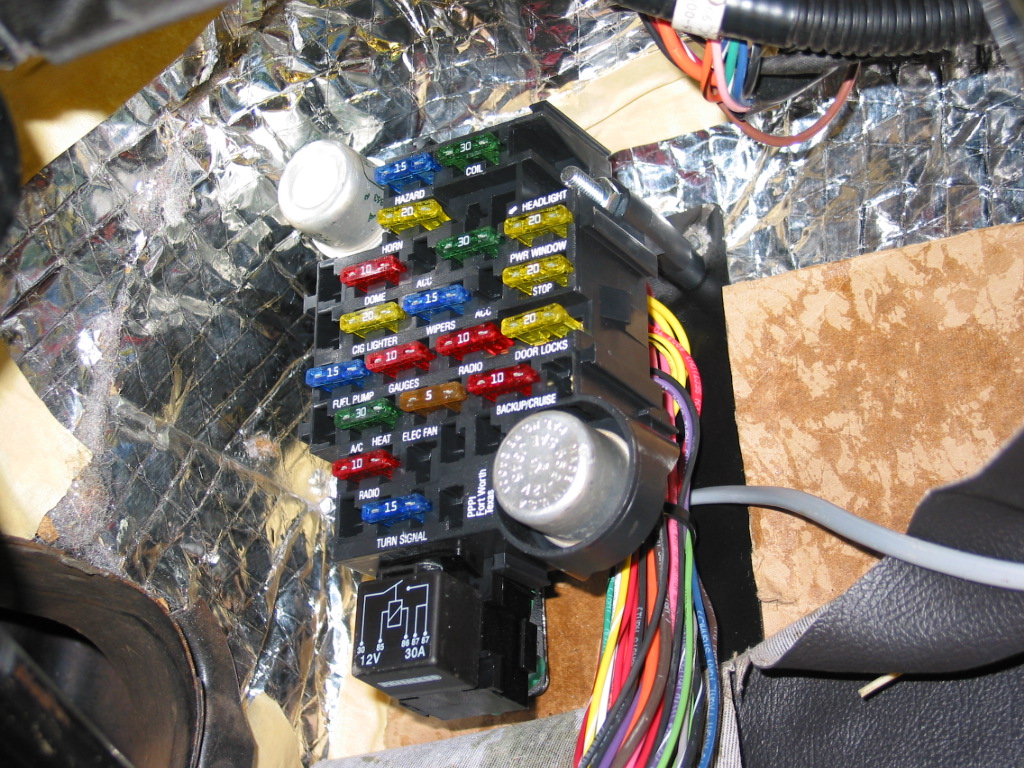
Mounting the fuse block is next. Since the firewall has been smoothed, Jim decided to weld the bolts in the mounting bracket and attach it to the firewall with adhesive.
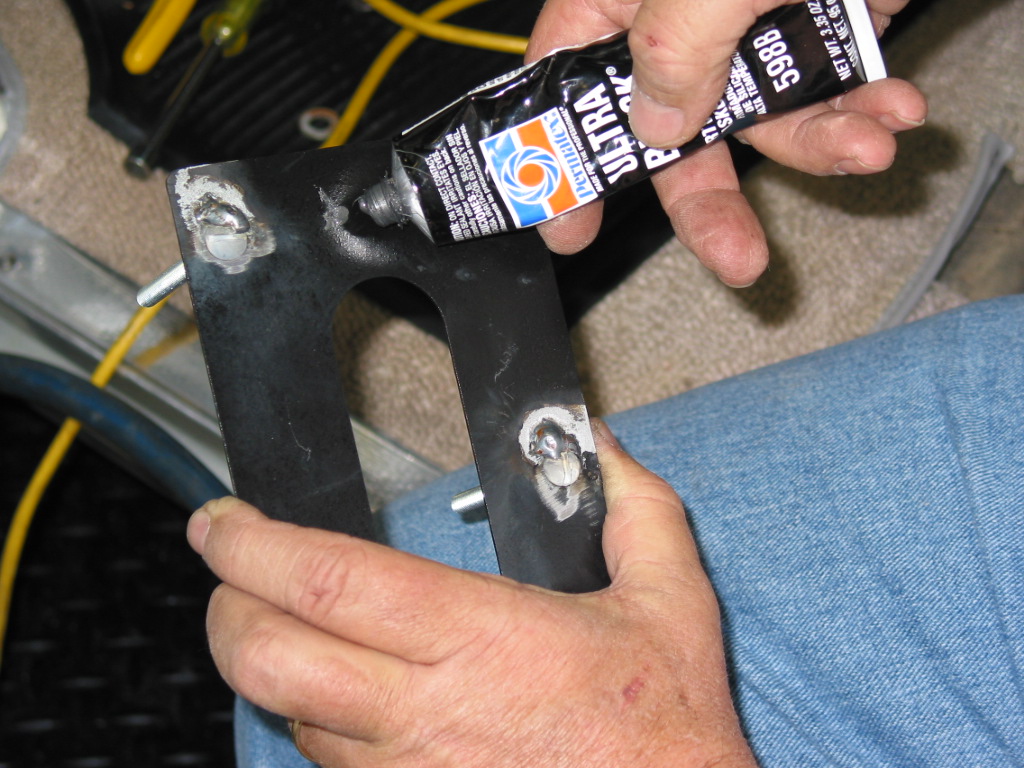
A good heat resistant adhesive is liberally applied to the mounting bracket. The bracket is attached to the fuse block and put in position.
With the fuse block in position, the carpet will be reinstalled around it for a clean look.
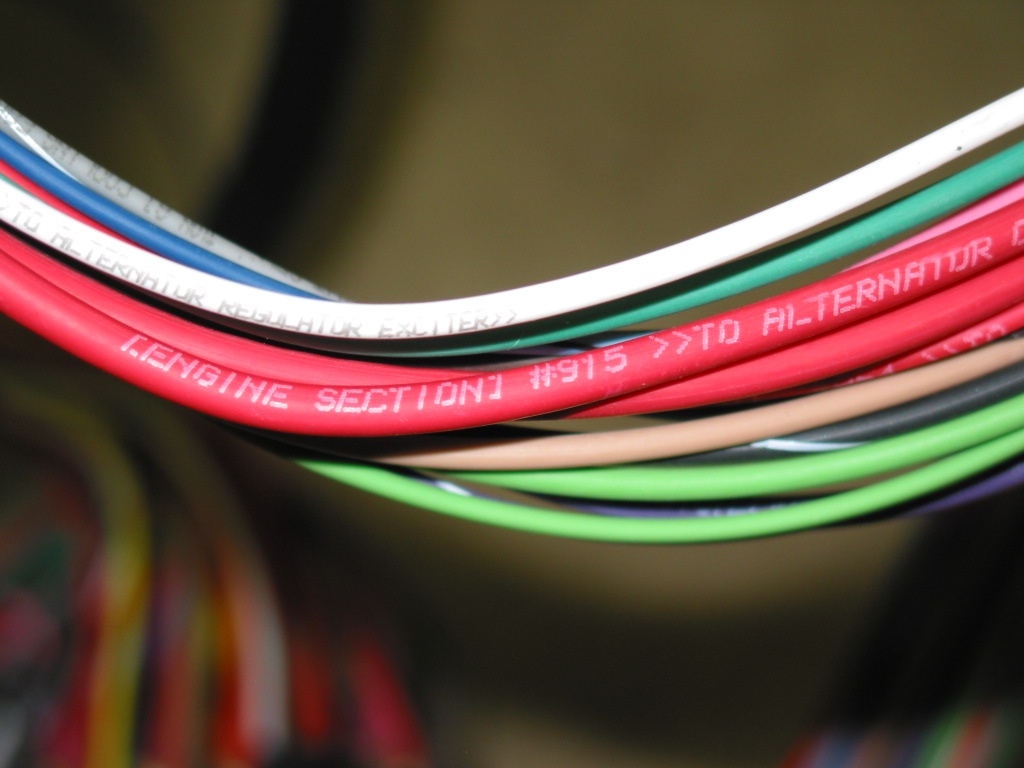
With everything preliminarily routed, the thing to do is hook up wires. The Painless harness has the wires labeled their entire length to assist in their proper destination.
The stock 1956 ignition switch has 2 ignition terminals. One is hot in the start position and the other is hot in the run position. A diode is installed between the two terminals to provide constant power to the coil. The original 1956 system had an ignition resistor and the coil received power through it during normal running operation. During starting, the coil received power from the bypass terminal of the starter solenoid.
The Painless harness has 2 power wires at the ignition switch to insure enough current for the awaiting creature comforts.


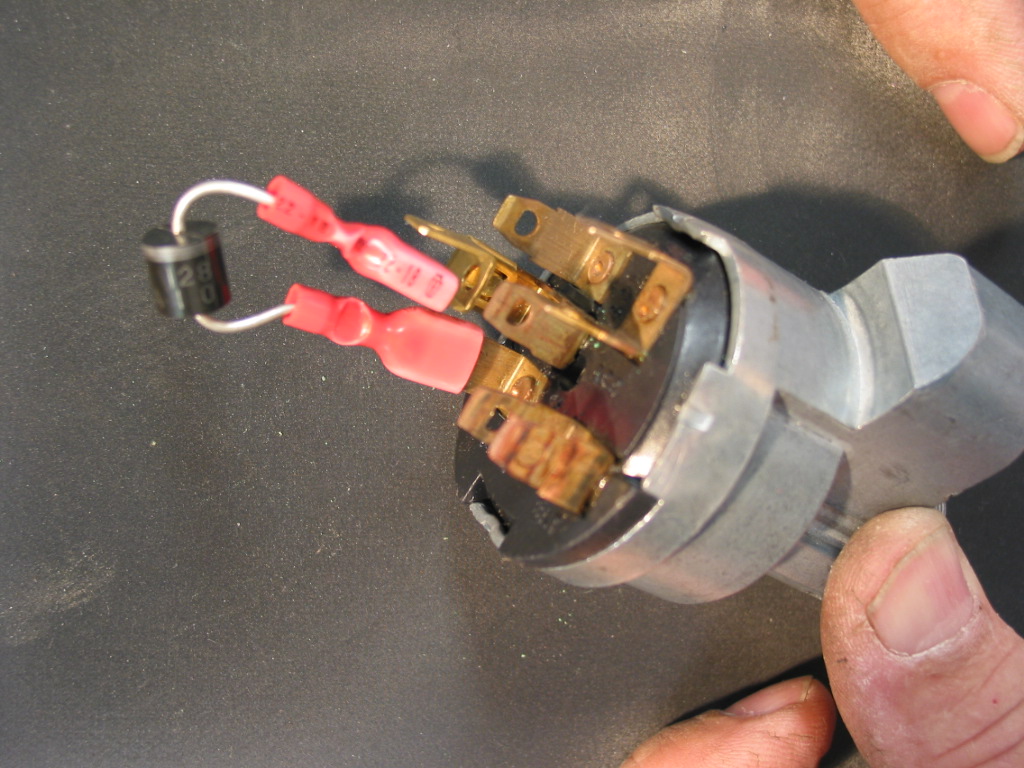
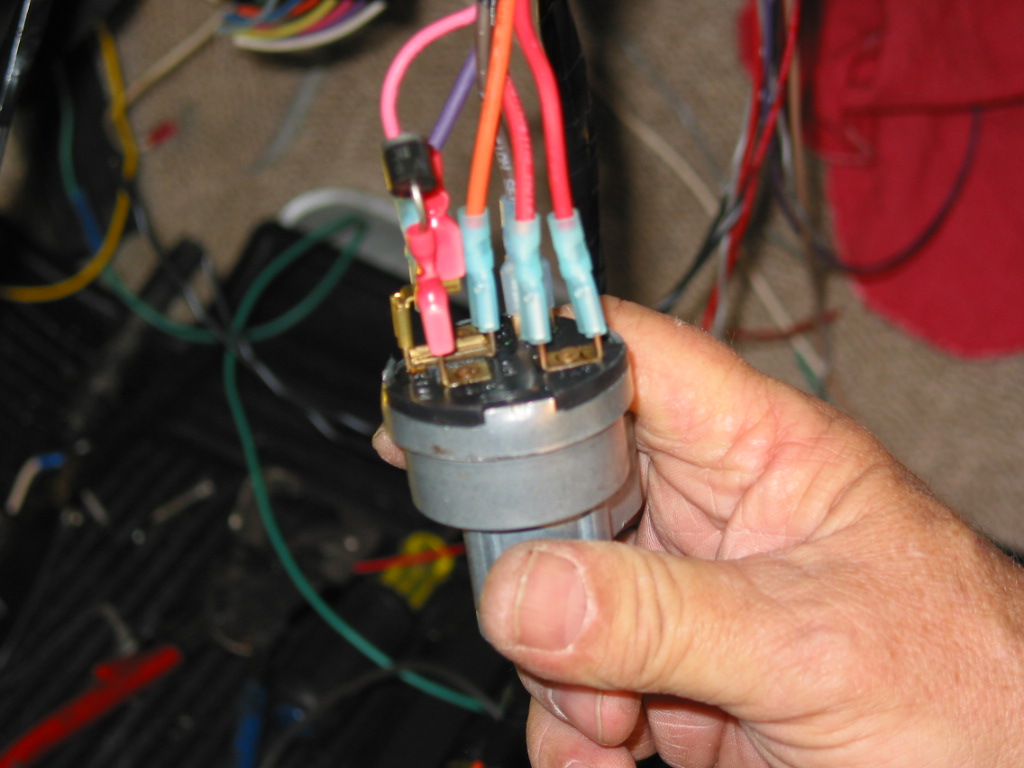


What size diode is between the two terminals to provide constant power to the coil that is shown in the picture?
Yes, what size diode please?