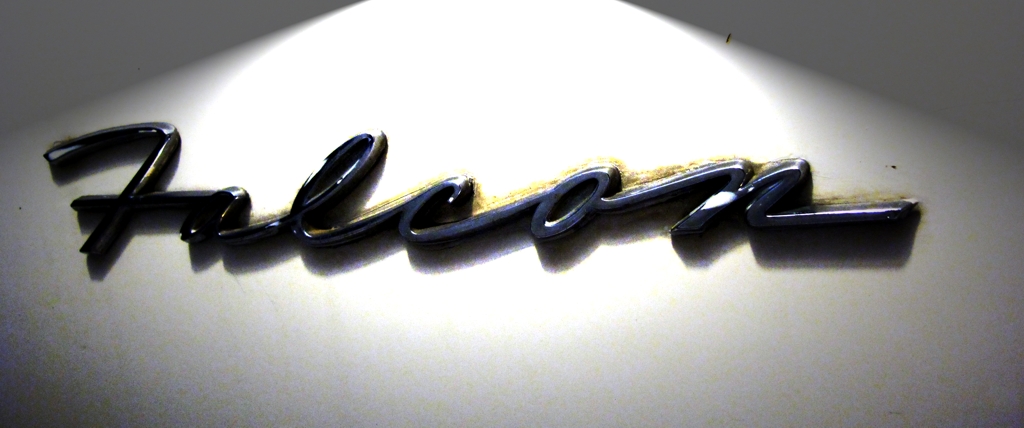
1960 Ford Falcon Project Continues
Engine Disassembly Begins for this Ford Straight Six
After beginning my 1960 Ford Falcon project, hearing from you all, and thinking about it a bit – I’ve decided I do want to keep the original straight-six engine. I will quite possibly be hopping it up some as I rebuild it – but I like the idea of keeping the car original and just working with what I’ve got.
 As I continue growing in my car knowledge and mechanical skills, I continue to be drawn towards performance and racing. Thankfully I’ve not only got the Falcon to work with, but also have my Studie. Since my 1955 Studebaker Coupe is already modified with performance parts, it helped in my decision to keep the Falcon original.
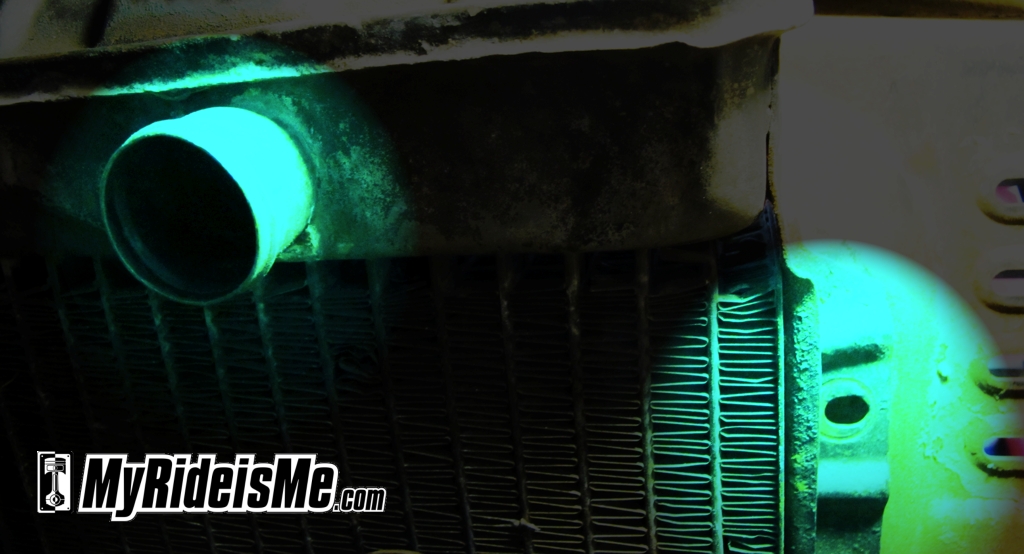
First things first, the radiator had to come out (after being drained first, of course.) Once that was done, I decided I’d go ahead and pull other front pieces off. Not that it will help very much with getting the engine clear (there’s a permanent bar in front that we’ll have to lift the engine up and over when the time comes.) But if I’m going to do a job, I want to do it well! This Falcon’s engine bay is going to look nice and clean when I’m done with it!
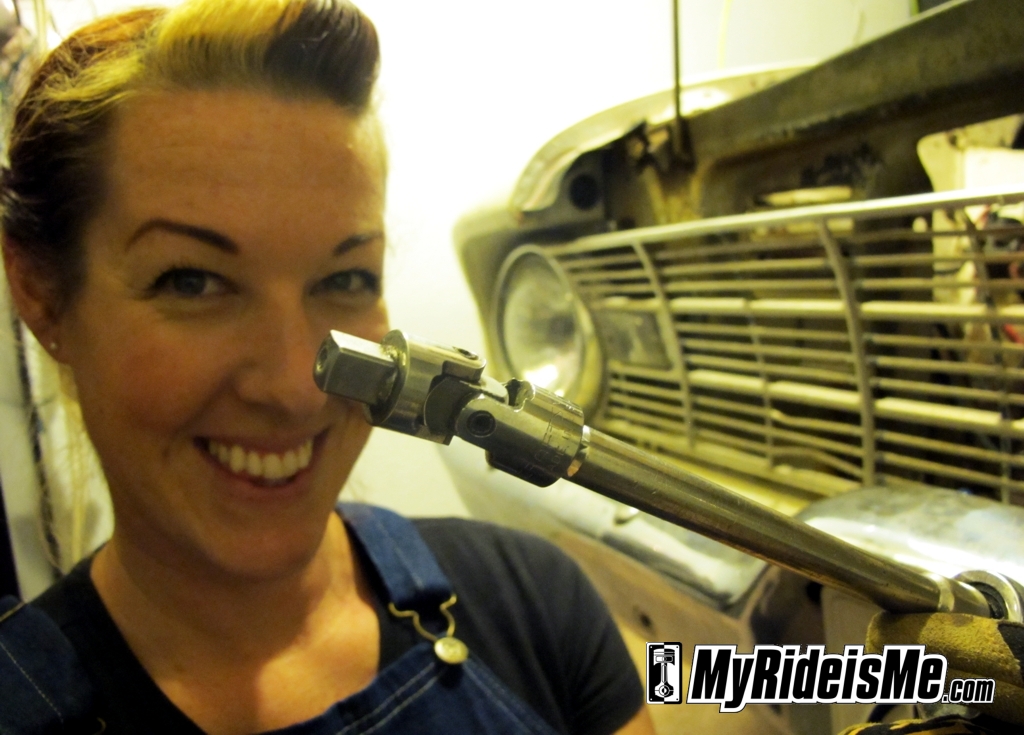
So I took off the bumper by unscrewing the six bumper bolts which affixed it to the chassis. While taking the bumper off, there were two bolts that I couldn’t reach with my extension because I didn’t have a straight passageway to it. I solved the problem by using this nifty jointed thing that I got from my Grandpa. It allowed me to get the socket in place. With the bumper off, I can give it a good cleaning and maybe straighten it out a bit (it’s been bumped!)
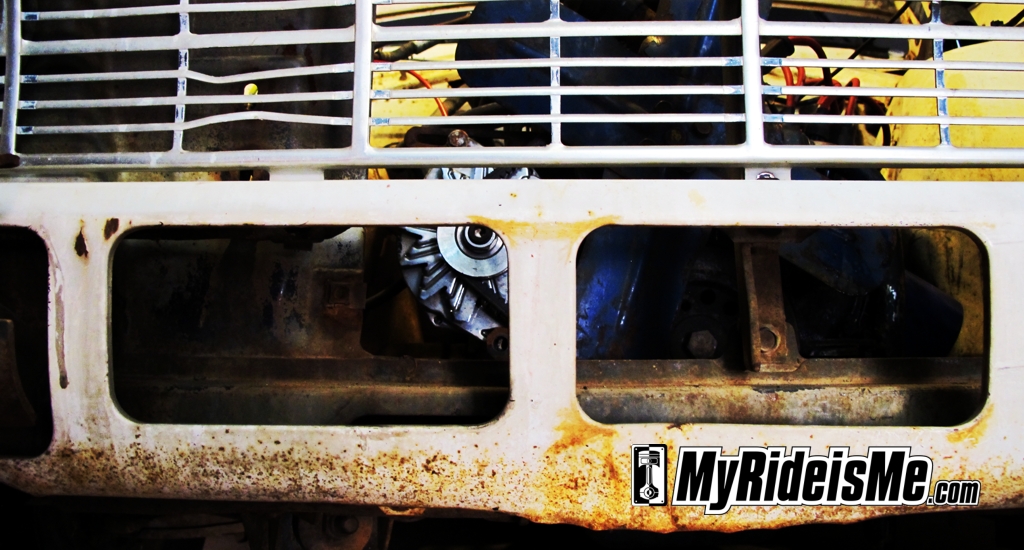
The Falcon also has a body piece across the lower front-end which the grill is attached to. This piece and the grill are both prime targets for some cleaning-up, so they came off as well.
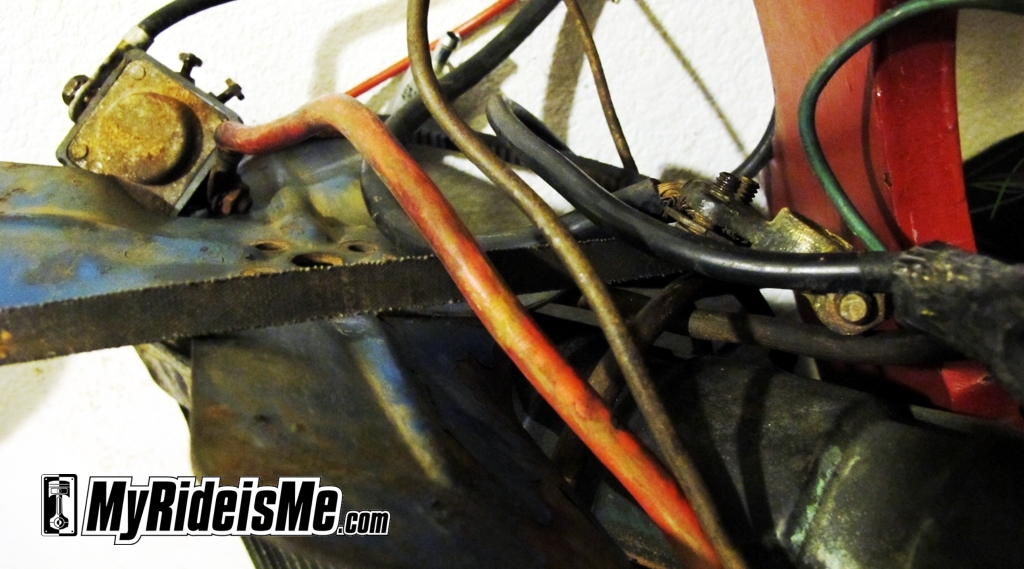
Next up was the fan, carbuerator, alternator, and all the hoses and connectors. Afterwards I had a healthy pile of parts, hoses, and wires that have come out. If you’ve never torn apart a car or engine before – make sure you’ll know how to put it back together before you take it apart!
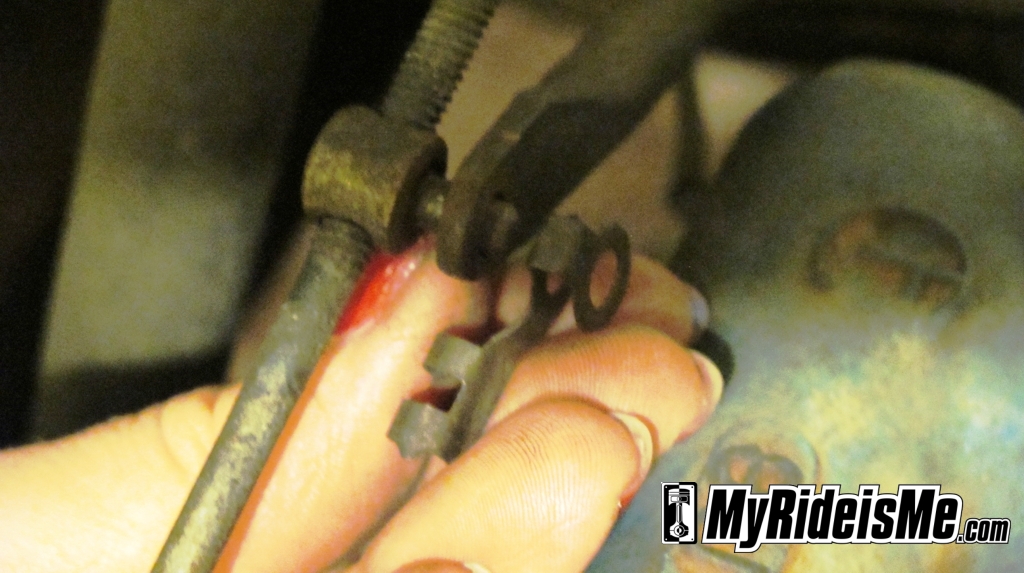
One thing that will help you get it all back together when you’re done is to take lots of pictures while you’re taking it apart. For example, I had never seen this funny bracket piece holding a couple parts of the throttle linkage together. I’ll be glad I’ve got a visual marker to help me when I’m scratching my head wondering what its for a number of months down the road.
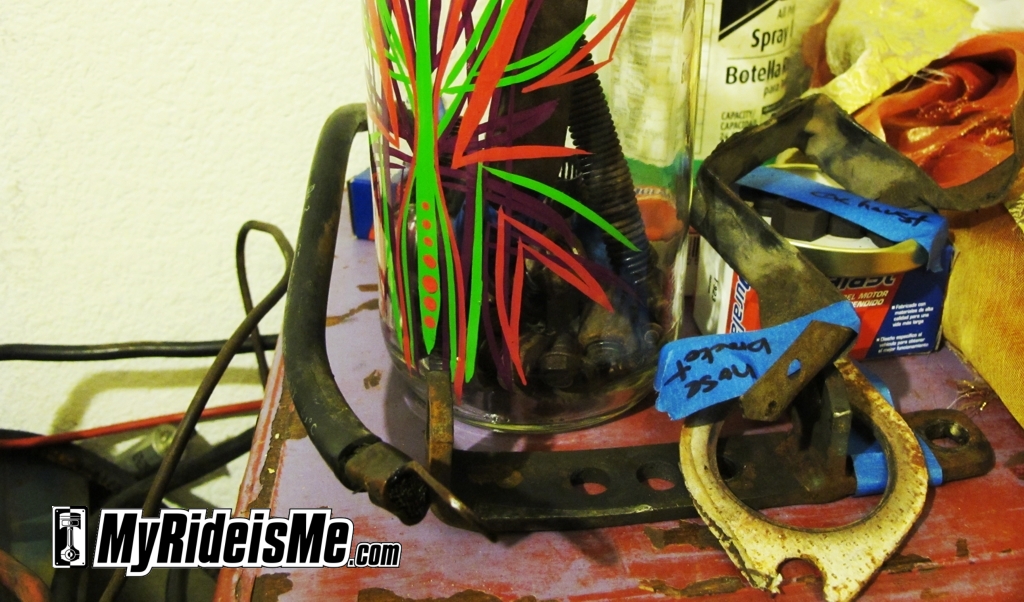
Make sure you don’t lose any of your parts either! Have a special shelf (or a box is probably better) to hold all the parts you’re taking off. For lines and electrical wires, use tape to label where it connects to. And be sure not to lose all those bolts! I’m keeping mine in a jar until they’re needed again.
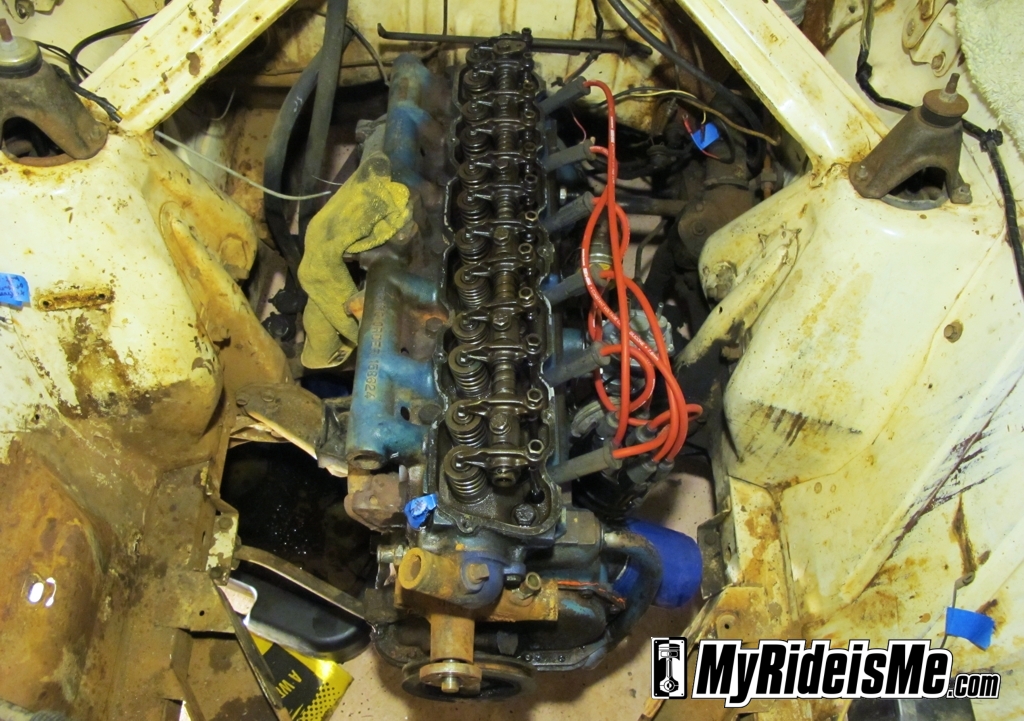
Here’s what’s left in my engine compartment! I still need to drain the oil, then next up…this straight six is coming out! Any tips, comments, concerns? Leave a comment and let me know!





Keep up the good work! I wanted to get a Falcon Wagon but found a 67 Ford Ranch Wagon for $600 instead. Glad you’re keeping the straight 6. I highly recommend you check out the forum at: http://www.fordsix.com. Tons of info from fellow ford six owners. If you’re after some hop up goodies, check out http://www.classicinlines.com.
Hey Thomas, Thanks for the encouragement. I know fordsix.com and classicinlines. I’m a member, my name is pikesan. Check me out.
HI it is cool to see women getting into fixing their cars up. A falcon is a really fun car to work on as all the parts are easy to come by. I restored a Mustang a few years ago and really enjoyed working on it they are so simple now I have a 1930 Model A Ford it’s like a 90 year old falcon.
As you take your car apart take lots of pictures especially linkage and wires it will make putting everything back together much easier .
Have a great time with your Falcon looks like fun to me.
Steve
It’s really cool to see women take part in restoring these older vehicles.I have a 64 two door hard top that had originally an inline 6 which has been swapped out for a v8.Good luck with your build and also if you need any guidance try out http://tffn.net/phpBB3/viewforum.php?f=62
There is a ton of info over there and I am a member as well.
Thanks for your comments Mark! I’ll make sure Grease Girl knows about tffn (The Ford Falcon Network). She probably already does… she’s the real deal!
Cool,
Ya’ll keep up the good work,I really enjoy reading this blog!
Mark
Thanks Mark! I have been over to TTFN…but need to visit a little more with this impending rebuild on my hands. I’ve hit a short lull due to other life happenings…but I’ll be underway with the rebuild soon.
i currently have 65 dr ht shooting for a 1000 hp driver …i love the 60 sedan i chopped it 4 inches 25 years ago looked cool … with gas the way it is go with the six if you go with a v8 put a mustang two front end so much better than stock,,but the six can work deck the block to 0.30 piston head clearence ……this fights detonation by improving quench witch allows higher compression that you obtained by milling your actual stock compression ratio is probly under eight to one …so boosting it to 10.5 would give you a20 to 24 increase in power with the same fuel consumptions (check out new hondas with 11to1 )buy you a good adjustable distibuter (adjustable vacume advance and mechanical andvance) then a good stock rebuild …good luck glad to see another putting life into a falcon
check out the shelby mod to the upper control arm mount holes …mustangs and falcon share some poor geometery habits and in 65 shelby drilled two new holes for the a arms 1in down and 1/8 back correcting some of the cars bad habits
Thanks Billy, I’m planning the Shelby drop for my Falcon. Just gotta make time for it… along with all the other projects!!