Hot Rod Fixed- It’s about time!
You don’t have to look that closely to see the dust piling up. My friends never let me forget what I already know. That ain’t right.
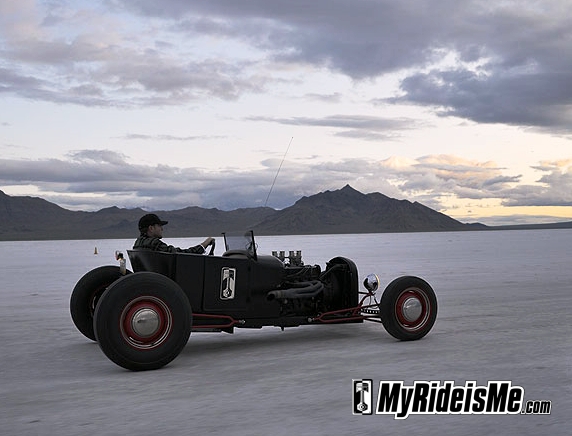
Good news is, MyRideisMe.com is growing, but it’s at a cost to why I made it: The fun of driving and working on cars. No regrets, but just the same, I’m glad to have Bonnie, my 1927 Ford Roadster back on the road. So what was wrong?
- General laziness
- Get out there son!
- Stripped out threads for 1 header bolt
- I’ve never done a Heli-coil before
Sounds even more pathetic when I write it down.
Backing up some… A friend had a gift certificate for ceramic header coating that he couldn’t use, so knowing I’m a fellow car dude, he offered it to me. I needed to do something! If you’ve been following the build/update progress of my roadster for a while, you saw this post (Click to read it):
Home-built Header finish-ATF!
After applying the ATF (and after the smoke cleared…) the header was an amazingly cool gray-blue. I loved it and you couldn’t beat the cost! It looked pretty good for a while but after just a touch of rain, it needed another coating. Before long, the cool color turned to mostly a dull black. Perfect for Bonnie, but it never looked “coated” again. Enter 2009 Speed Week and my joyous rides on the salt.
Compared to: Weathered and Sad – Salt is bad for untreated metal. Ya think? Compare that to what it looked like when it was new.
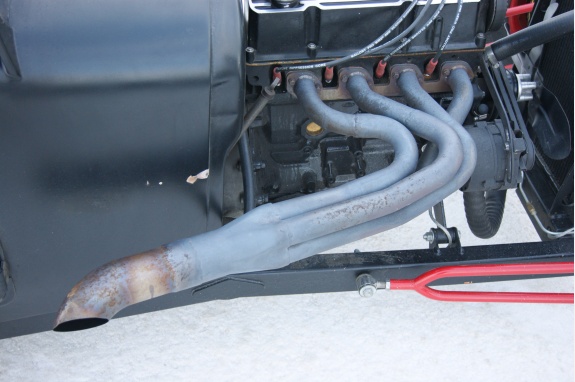
Since I’ll be back on the salt this year, I needed to do something with my header, so the timing of the freebie ceramic coating was great. When I removed the header, I found one of the header bolts just over finger loose and it wouldn’t tighten back up. Crap. I knew about Heli-coils, but I’d never used one. For some reason I used that as an excuse to put it off for WAY too long.
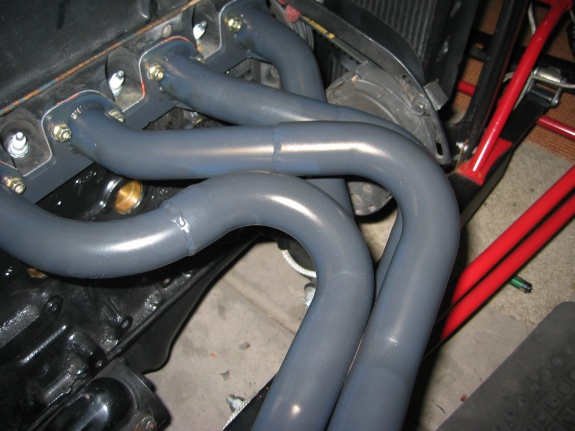 I thought about writing a tech piece on how to do a Heli-coil, but I found a couple easy to follow videos on youtube that I couldn’t improve on. Simply, you just drill a hole, tap it with a special tap, screw in the Heli-coil and you’re done! I had to grind off a tiny bit of the coil because it sat above flush with the head. Two seconds with a grinder and that was done. It all worked great and was way easier than I thought.
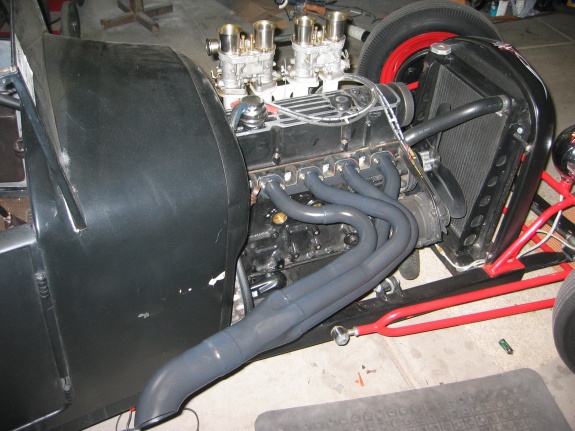
The new header’s in the top picture. I asked for flat black and the only black they had was this semi-gloss that has a funky yellow or gold-like tint to it. It’s almost like a yellow pearl in the black. I hope that burns off. Can you see it?
To cap things off with some tech, if you’ve ever tried tightening header bolts. It can suck. Grab 2 or 3 wrenches of the size you need:
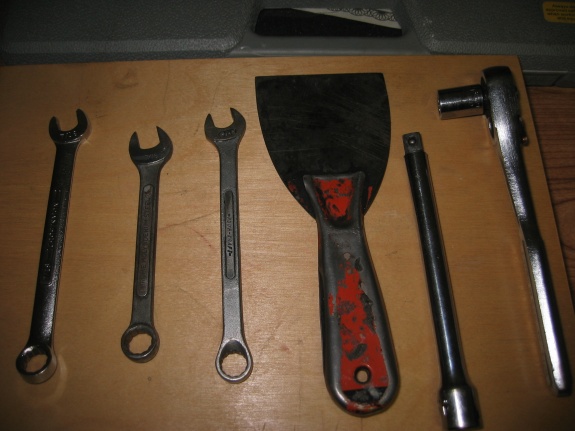
These wrenches aren’t a great example, but most times, the open ends will have a slightly different angle. When you’re to a point where you can only turn one flat of the bolt at a time, flip the wrench over and try again. If that doesn’t work, use a different wrench. That couple degrees of angle change on the head may be all you need to nudge the bolt over and grab it with the another wrench. Rinse and repeat.
A pretty simple tip, but if it weren’t for my dad teaching me, I wouldn’t think of that. Also, as I discussed with some other members, there’s alot more novices out there than experts. All are welcome here! If you’re an expert, let us know! Tech tips are a priority for the future of my weekend hot rodding killer… MyRideisMe.com. Sign up and join us…




I can’t see the yellow tint you’re talking about. Looks good though! See you on the salt buddy!
Ceramic Header coating – Who do you reccomend in the Phoenix area. I recently bought a second set because the first set turned black during tuneup. Now I suddenly have two black sets, ha1 I intend to coat one set and install flame-throwers on the second set.
Hi Ron,
I’m not able to recommend anyone right now. It wasn’t the best experience with the place I used, but since it was free, I’m not complaining… yet.
you need to purchase a universal joint (wobble) or 2 for your socket set. and a speed handle. life will be much easier.
a wobble U joint isn’t much help if you can’t get a socket on a header bolt because the tubes are too close, on my own headers the only bolts I can use a socket on are the 2 on the end, I also have to use the 3 different wrench method, it always works for me but it uses up a lot of time. I’m glad the roadster is up & running, looks great .